
SpringBoot | SpringBoot自定义starter

场景设计
提示
场景:抽取聊天机器人场景,它可以打招呼。
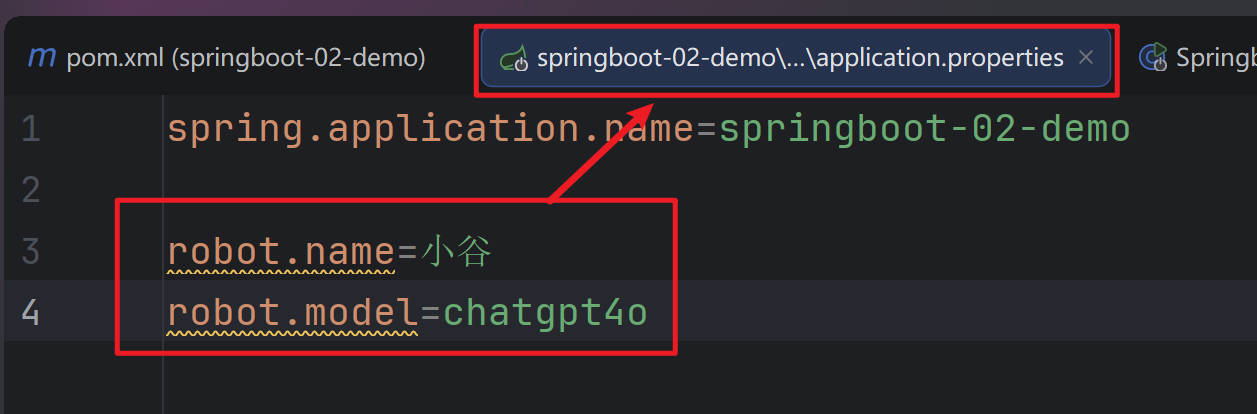
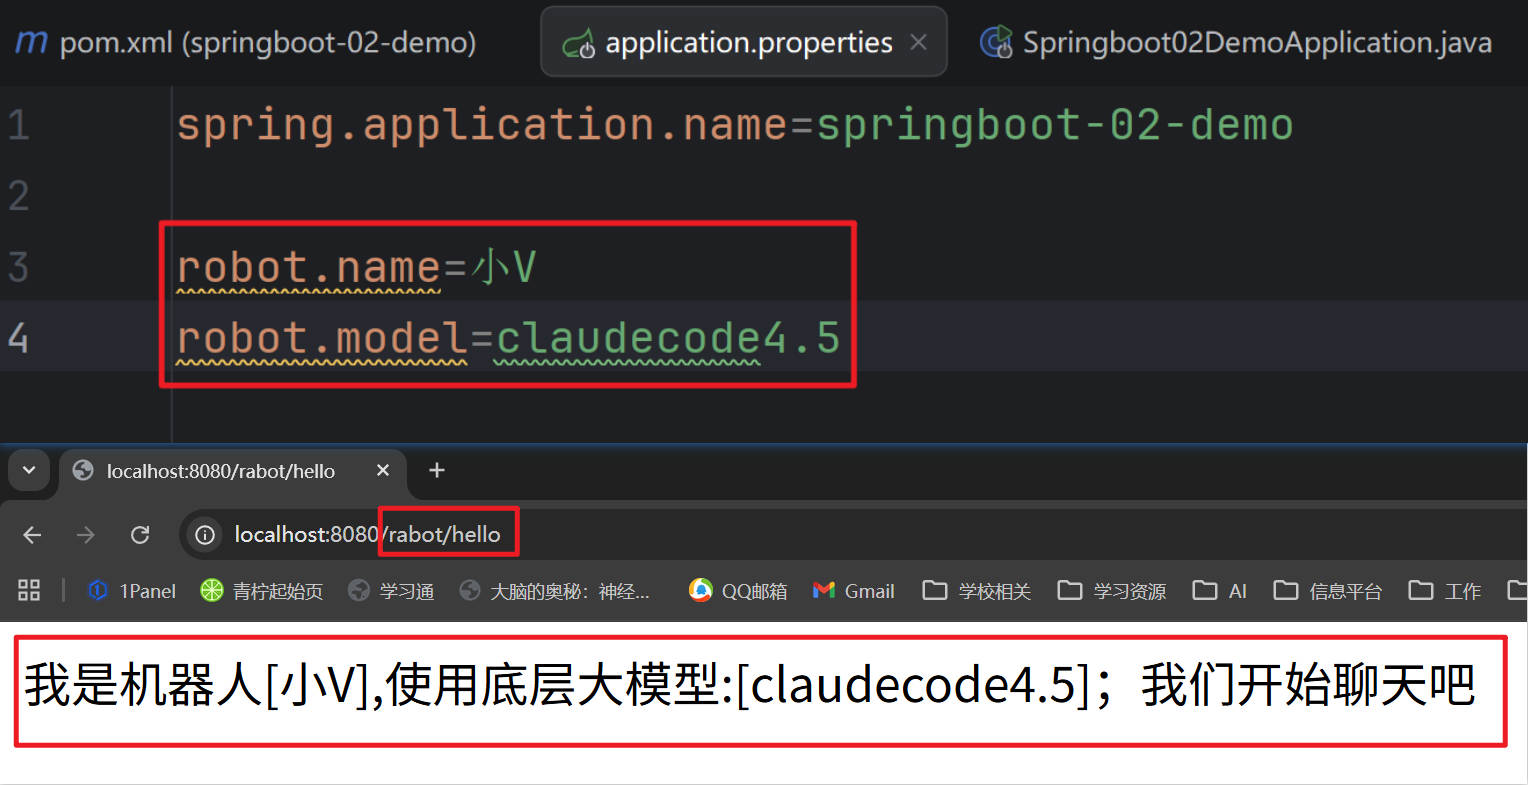
效果:任何项目导入此starter都具有打招呼功能,并且问候语中的人名需要可以在配置文件中修改
基础抽取
提示
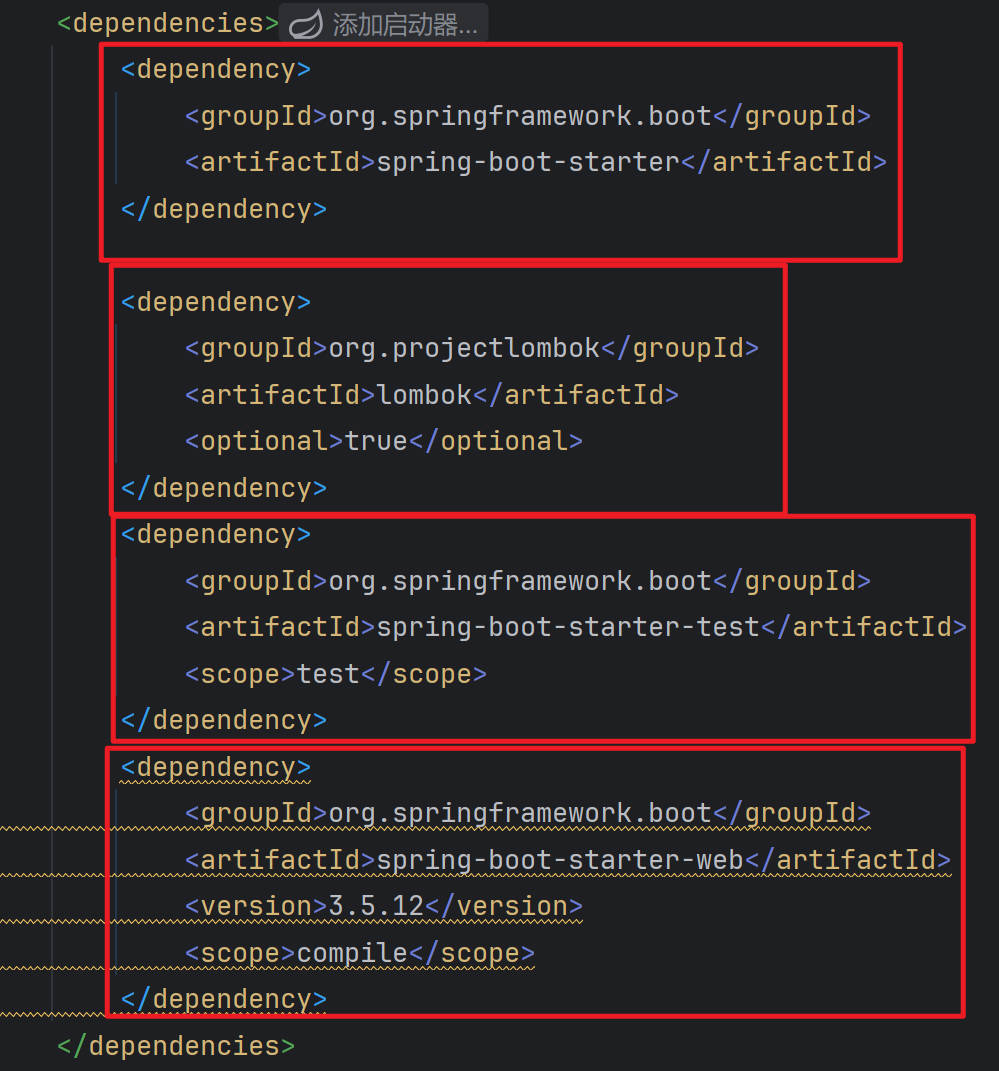
创建自定义starter项目,引入spring-boot-starter基础依赖
编写模块功能,引入模块所有需要的依赖。
编写xxxAutoConfiguration自动配置类,帮其他项目导入这个模块需要的所有组件
- 创建自定义starter项目:
编写模块功能:
RobotController.java
package fun.xingji.robot.starter.controller;
import fun.xingji.robot.starter.service.RobotService;
import org.springframework.beans.factory.annotation.Autowired;
import org.springframework.web.bind.annotation.GetMapping;
import org.springframework.web.bind.annotation.RestController;
@RestController
public class RobotController {
@Autowired
RobotService robotService;
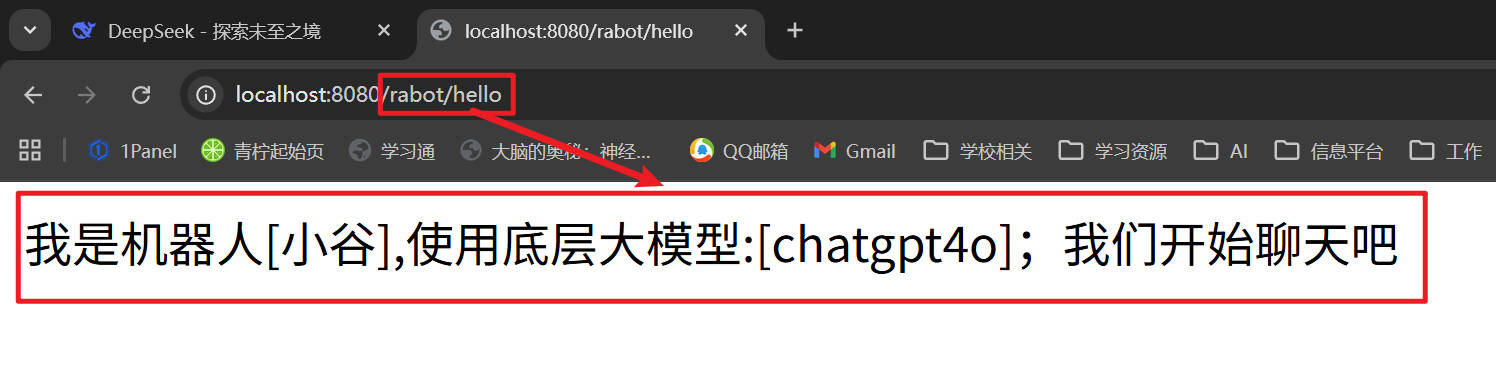
@GetMapping("/rabot/hello")
public String sayHello(){
// 调用服务层的方法
String msg = robotService.sayHello();
return msg;
}
}- RobotProperties.java
package fun.xingji.robot.starter.properties;


import lombok.Data;
import org.springframework.boot.context.properties.ConfigurationProperties;
import org.springframework.stereotype.Component;

@Component
@ConfigurationProperties(prefix = "robot")
@Data
public class RobotProperties {

    // 机器人名称和型号
    private String name;
    private String model;
}- RobotService.java
package fun.xingji.robot.starter.service;

public interface RobotService {

    // 打招呼方法
    public  String sayHello();
}- RobotServiceImpl.java
package fun.xingji.robot.starter.service.impl;

import fun.xingji.robot.starter.properties.RobotProperties;
import fun.xingji.robot.starter.service.RobotService;
import org.springframework.beans.factory.annotation.Autowired;

public class RobotServiceImpl implements RobotService {

    @Autowired
    RobotProperties robotProperties;

    // 打招呼方法
    @Override
    public String sayHello() {
        return "我是机器人["+robotProperties.getName()+"],使用底层大模型:["+robotProperties.getModel()+"];我们开始聊天吧";
    }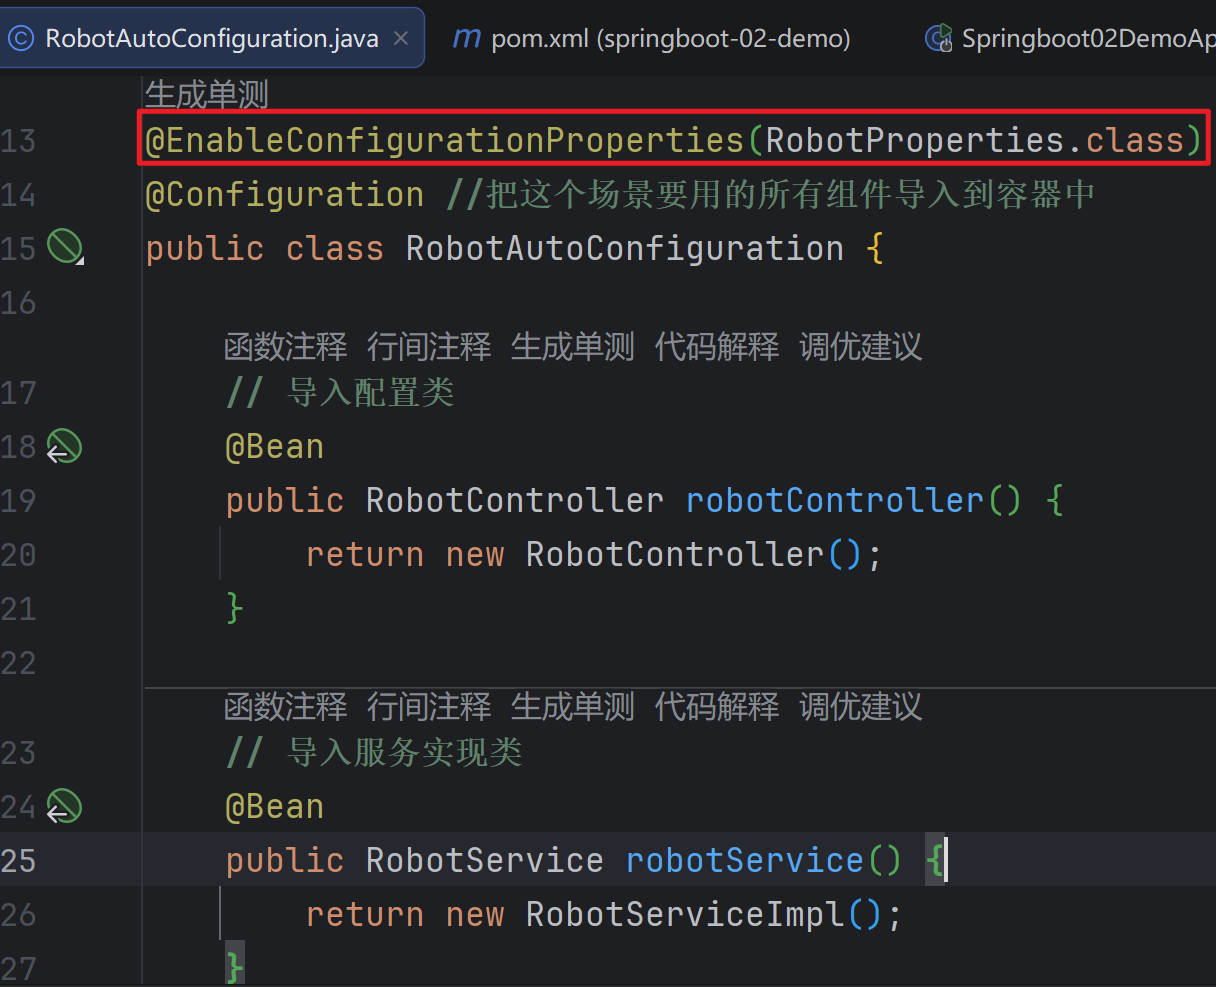
}- 编写RobotAutoConfiguration自动配置类:
package fun.xingji.robot.starter;


import fun.xingji.robot.starter.controller.RobotController;
import fun.xingji.robot.starter.properties.RobotProperties;
import fun.xingji.robot.starter.service.RobotService;
import fun.xingji.robot.starter.service.impl.RobotServiceImpl;
import org.springframework.boot.context.properties.EnableConfigurationProperties;
import org.springframework.context.annotation.Bean;
import org.springframework.context.annotation.Configuration;


@EnableConfigurationProperties(RobotProperties.class)
@Configuration //把这个场景要用的所有组件导入到容器中
public class RobotAutoConfiguration {

    // 导入配置类
    @Bean
    public RobotController robotController() {
        return new RobotController();
    }

    // 导入服务实现类
    @Bean
    public RobotService robotService() {
        return new RobotServiceImpl();
    }
}
@EnableXx机制
提示
编写自定义 @EnableXxx 注解
@EnableXxx 导入 自动配置类
测试功能组件生效
- EnableRobot.java
package fun.xingji.robot.starter.annotation;

import fun.xingji.robot.starter.RobotAutoConfiguration;
import org.springframework.context.annotation.Import;

import java.lang.annotation.*;

@Target(ElementType.TYPE) // 用在类上
@Retention(RetentionPolicy.RUNTIME) // 运行时有效
@Documented // 生成文档
@Import(RobotAutoConfiguration.class) // 导入配置
public @interface EnableRobot {

}
完全自动配置
提示
1、依赖 SpringBoot 的 SPI 机制
2、META-INF/spring/org.springframework.boot.autoconfigure.AutoConfiguration.imports 文件中编写好我们自动配置类的全类名即可
3、项目启动,自动加载我们的自动配置类
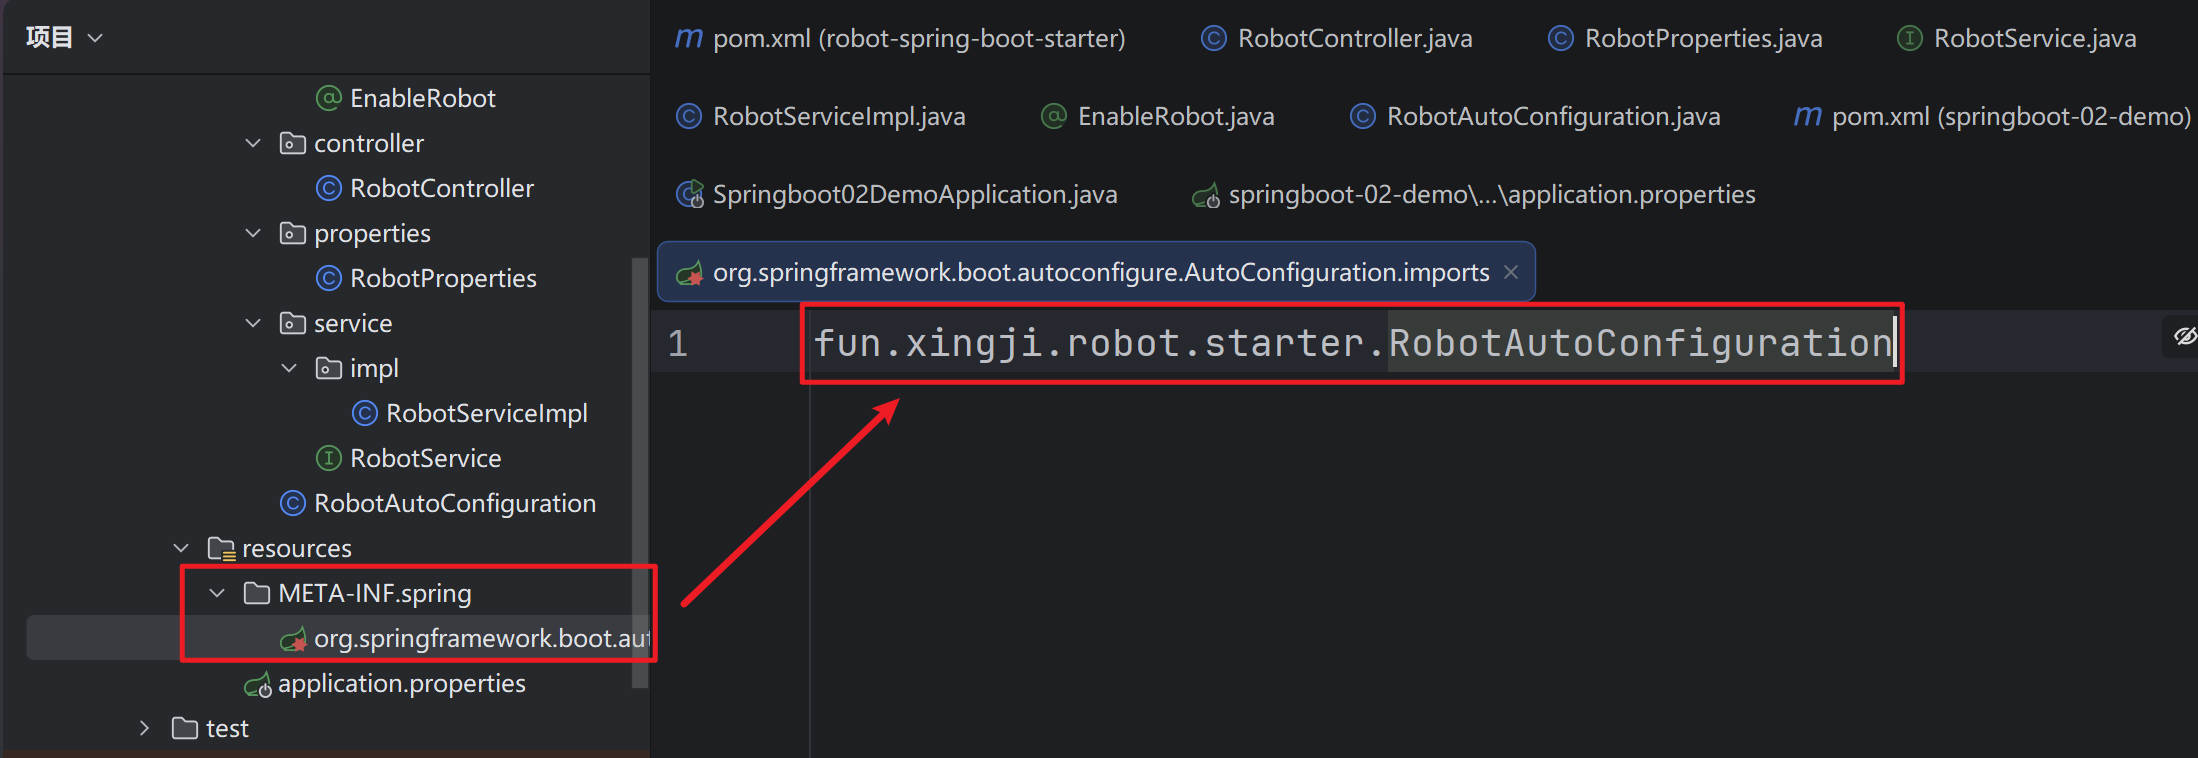
- 项目启动,自动加载我们的自动配置类
- Springboot02DemoApplication.java
package fun.xingji.springboot;
import org.springframework.boot.SpringApplication;
import org.springframework.boot.autoconfigure.SpringBootApplication;
/**
* spring-boot-start-web
*
* 为什么导入 robot-spring-boot-starter ,访问 controller 是 404?
* 原因:主程序只会扫描到自己所在的包及其子包下的所有组件
*
* 自定义starter:
* 1、第一层抽取:编写一个自动配置类,别人导入我的starter,
* 无需关心需要给容器中导入哪些组件,只需要导入自动配置类,
* 自动配置类帮你给容器中导入所有这个场景要用的组件
* @import(RobotAutoConfiguration.class)
* 2、第二层抽取:只需要标注功能开关注解。@EnableRobot
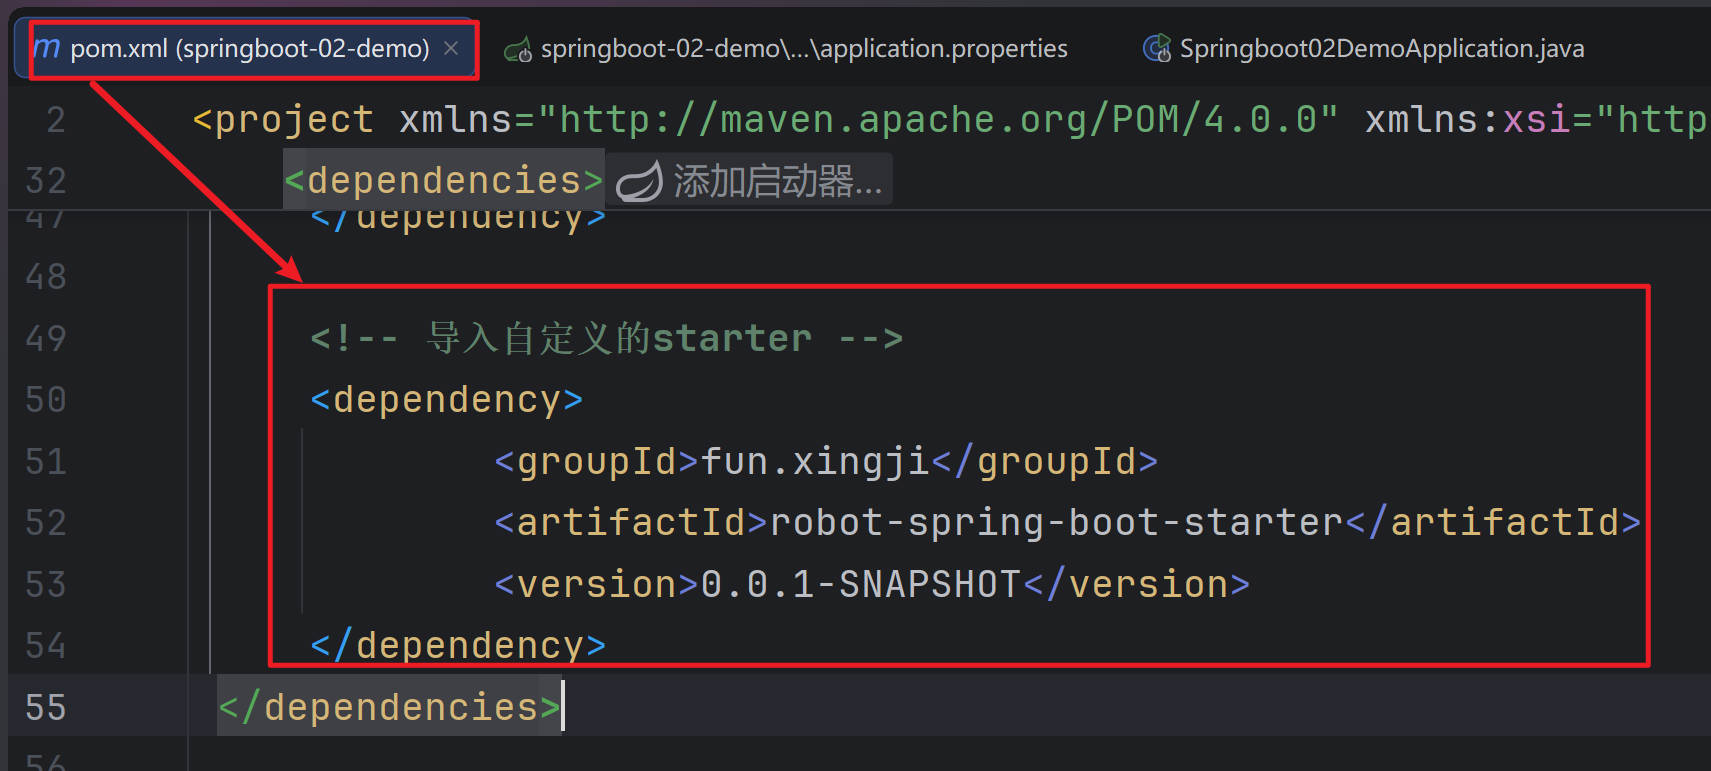
* 3、第三层抽取:只需要导入starter,所有功能就绪
*/
@SpringBootApplication
public class Springboot02DemoApplication {
public static void main(String[] args) {
SpringApplication.run(Springboot02DemoApplication.class, args);
}
}
贡献者

更新日志
2026/3/25 07:48
查看所有更新日志
74046-于